
You said yes to bringing something to brunch.
Or maybe you’re hosting Easter morning.
Or it’s Christmas, everyone’s still in pajamas, and somehow the kitchen is already buzzing with hungry people.
You want something warm, sweet, and easy to share — but you’re not about to spend $40 at a bakery or wrestle with yeast dough at 6 a.m.
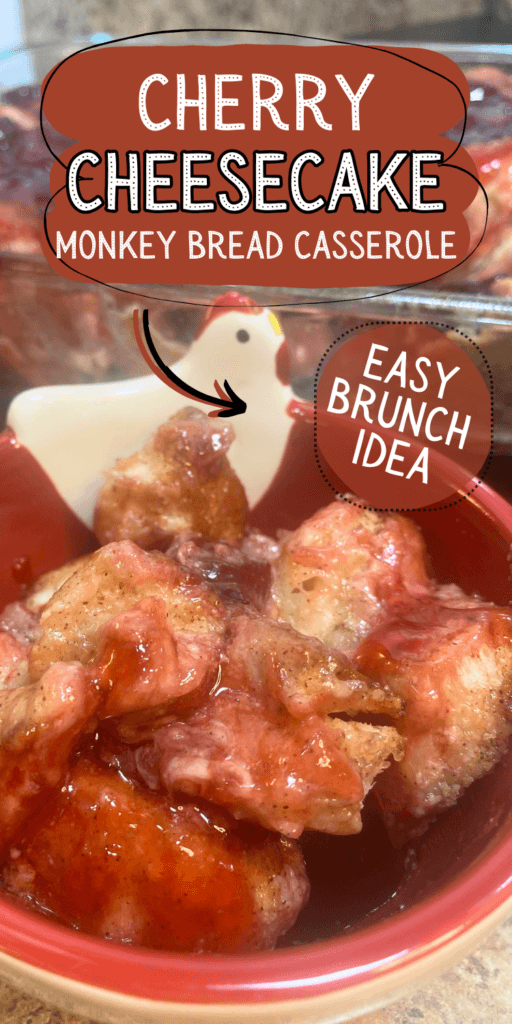
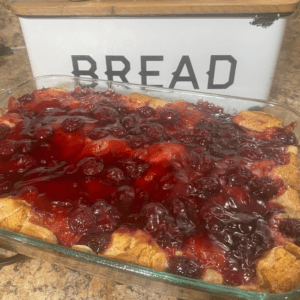
That’s exactly the kind of morning this Cherry Cheesecake Monkey Bread Casserole was made for.
It uses refrigerated biscuit dough, a simple cream cheese mixture, and canned cherry pie filling — the kind of ingredients most of us already keep on hand. With basic equipment like a 9×12 baking dish, a mixing bowl, and a spoon, you can turn everyday pantry staples into something that looks like it came from a café display case.
This is budget-conscious baking in real life: simple ingredients, everyday tools, and a result that feels a little special.
Read my full disclosure here if you’d like the details.
Why This Recipe Is Worth Making
Most monkey bread casseroles are heavy on butter and brown sugar and baked in bundt pans.
This one is different.
- No sticky caramel sauce pooling at the bottom.
- No layering.
- No eggs in the cheesecake mixture.
- Just soft cinnamon-sugar biscuit pieces topped with creamy cheesecake dollops and cherry filling.
It leans brunch without being overly sweet.
It cuts cleanly into 12 squares in a simple casserole dish.
It’s far lower in calories than the typical monkey bread.
It’s practical. Balanced. And very shareable.
Quick Snapshot
- 🕒 Ready In: 50–55 minutes
- 🍽️ Serves: 12
- 💸 Budget Level: Moderate pantry-friendly
- ❄️ Freezer Friendly: Yes (after baking)
- 🎉 Best For: Holiday brunch, potlucks, last-minute hosting
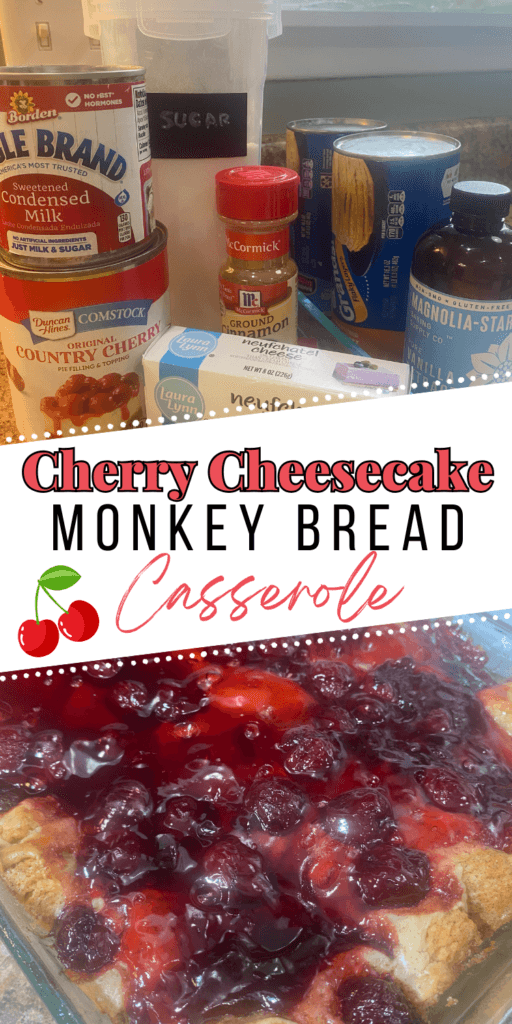
Ingredients & Tools You’ll Need
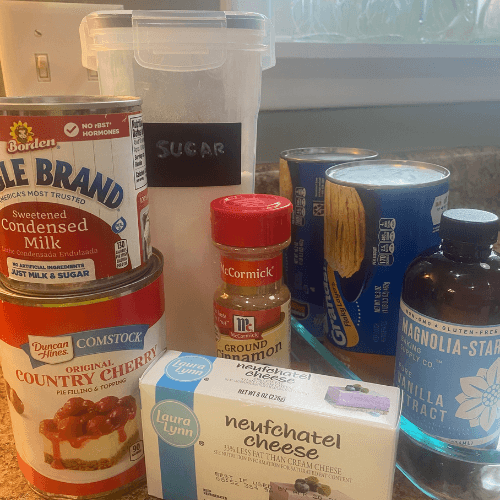
Biscuit Base
- 2 cans refrigerated biscuit dough (8 biscuits each), cut into quarters
- ½ cup granulated sugar
- 1 teaspoon cinnamon
Cheesecake Topping
- 4 oz cream cheese, softened
- ¼ cup sweetened condensed milk
- ½ teaspoon vanilla extract
Fruit Layer
- 1 (21 oz) can cherry pie filling
Helpful Tools
- 9×12 or 9×13 baking dish
- Mixing bowls
- Measuring cups and spoons
- Hand mixer or sturdy spoon
- Rubber spatula
This recipe only requires a few core tools you probably already have — measuring spoons, mixing bowls, and a dependable casserole dish — but those basics make all the difference. If you’re still building your kitchen from scratch or upgrading piece by piece, you can browse my Kitchen Equipment Tool Kit for the affordable staples I reach for constantly.
How to Make It
Step 1: Prep
Preheat oven to 350°F.
Grease a 9×12 baking dish with nonstick spray or a light coat of oil.
In a small bowl, stir together sugar and cinnamon.
Cut each biscuit into quarters. Kitchen scissors actually make this faster than a knife. Toss the pieces in the cinnamon-sugar mixture until evenly coated.
You want every piece lightly dusted — not buried.
Step 2: Build the Base
Spread all coated biscuit pieces evenly across the bottom of the baking dish.
They’ll look loose and uneven. That’s okay. They expand and fill in as they bake.
Step 3: Make the Cheesecake Mixture
In a mixing bowl, combine:
- Softened cream cheese
- Sweetened condensed milk
- Vanilla
Beat until smooth and creamy. A hand mixer makes this effortless, but a spoon works if the cream cheese is truly softened.
The texture should be thick but spoonable — like soft frosting.
Drop spoonfuls evenly over the biscuit layer.
Step 4: Add the Cherry Layer
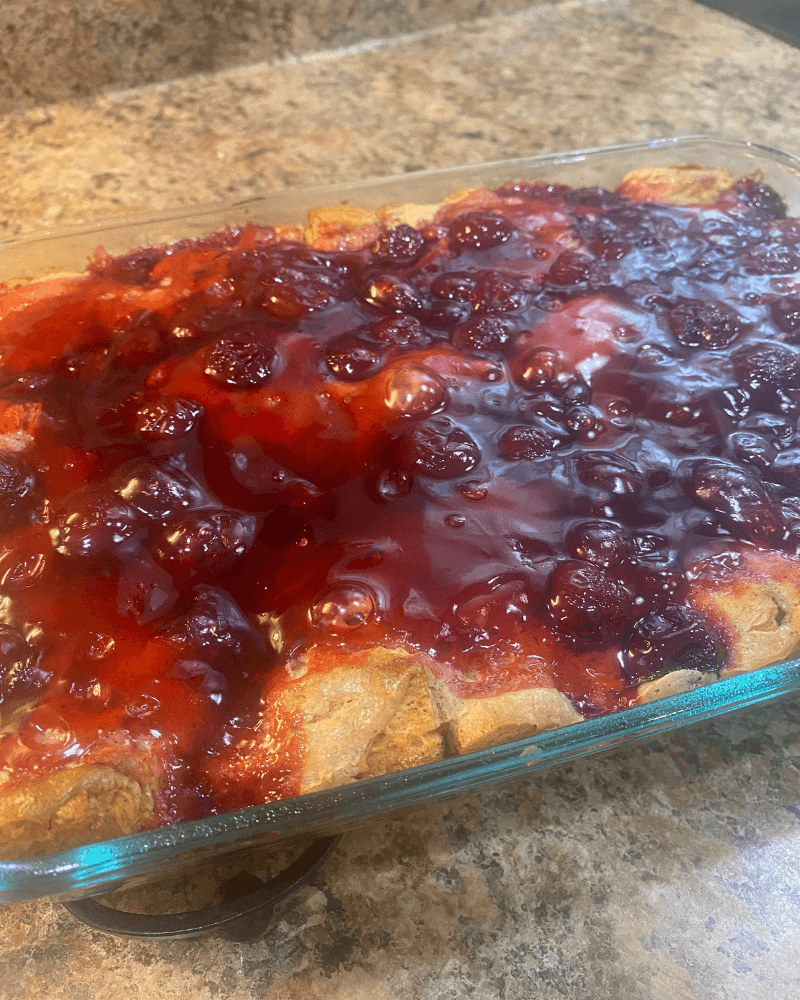
Pour the cherry pie filling evenly over the top. Use a spatula to gently spread it so most of the surface is covered.
You don’t need perfection here. Rustic is beautiful.
Step 5: Bake
Bake for 35–40 minutes.
The edges should look golden and slightly crisp.
If the top browns too quickly, loosely tent with foil during the final 10 minutes.
The center should no longer look doughy when you gently lift a piece with a fork.
Let it cool 10–15 minutes before slicing.
Cut into 12 even squares (3 rows by 4 columns) for easy serving.
Ingredient Substitutions
This recipe is very flexible.
- Missing the cherry pie filling? Use blueberry, apple, or peach pie filling.
- Missing sweetened condensed milk? Use 2 tablespoons sugar and 2 tablespoons milk instead.
- Looking for more cheesecake flavor? Use 8 oz cream cheese and ⅓ cup condensed milk.
- Out of cinnamon? Add a pinch of nutmeg or pumpkin pie spice.
Budget tip: I always grab store-brand here. No one can tell the difference — and I’ve done the taste test. That swap alone saves you about $3. On a $15 recipe, that’s 20% back in your pocket.
Budget-Friendly Tips
Estimated total cost: ~$15
Cost per serving (12 servings): ~$1.25
Most of the cost comes from:
- Refrigerated biscuits
- Cherry pie filling
Watch for sales or stock up when prices dip. Grocery stores frequently place Grands biscuits on B1G1 sales. I always grab a few to keep on hand for mornings you don’t have the energy to whip up a full breakfast or just need a dump-and-go recipe.
If you’re stretching groceries at the end of the month, this feeds 12 people (buffet size portions) or 6 people (full meal) for less than many coffee shop pastries cost individually.
Stretch It Further
Leftovers?
Warm a square in the microwave for 20–30 seconds and top with:
- A scoop of vanilla yogurt
- Whipped topping
- Or even a drizzle of chocolate syrup
You can also cube leftovers and turn them into a layered dessert parfait in clear cups for a party platter moment.
Serving Suggestions
Slow Saturday morning?
Warm a square in the microwave for 20–30 seconds and serve it with strong coffee and a spoonful of vanilla yogurt on the side. It’s cozy, simple, and feels a little indulgent without being heavy.
Feeding a brunch crowd?
Cut into squares and arrange on a large cutting board or white platter. Add fresh blueberries around the edges for color and sprinkle a dusting of powdered sugar on top.
Holiday morning?
Balance the sweetness with something savory like scrambled eggs, crispy bacon, or breakfast sausage. A simple fruit bowl on the table keeps everything from feeling overly rich.
Potluck or baby shower?
Serve slightly warm or at room temperature. It holds its shape well once cooled, making it easy to transport in the same casserole dish you baked it in.
Dessert mode?
Top with a dollop of whipped cream or a small scoop of vanilla ice cream and a drizzle of chocolate sauce. It shifts instantly from brunch to after-dinner treat.

Make-Ahead & Storage
Refrigerate leftovers covered for up to 3 days.
To freeze: Cool completely, wrap tightly, and freeze individual portions for up to 2 months.
Thaw in the refrigerator and reheat gently in the microwave or oven.
Not recommended for freezing unbaked — the biscuit texture changes too much.
Pro Tips
- Cold cream cheese will ruin your texture — I learned this the hard way at a Christmas brunch I will not be revisiting. Set it out 30 minutes early. Trust me on this one. I don’t talk about the Christmas brunch.
- Don’t overcrowd the pan; biscuit pieces need space to expand. It’s okay to layer more than one level but baking time will be longer.
- Allow it to rest before slicing for cleaner pieces.
- A metal baking dish will brown slightly faster than glass.
Variations
Once you understand the base formula — biscuit dough + cinnamon sugar + cream cheese mixture + fruit layer — you can spin this into almost anything. Here are ideas that get you started.
🍓 Strawberry Cheesecake Monkey Bread
Swap the cherry pie filling for strawberry pie filling and add a handful of diced fresh strawberries over the top before baking.
This version feels lighter and more spring-forward. Perfect for Mother’s Day brunch or baby showers. A drizzle of melted white chocolate after baking makes it feel bakery-level without much effort.
🫐 Blueberry Cream Cheese Breakfast Bake
Use blueberry pie filling and add a little lemon zest to the cheesecake mixture.
Blueberry and lemon together feel bright and balanced — less dessert, more brunch. This variation pairs beautifully with strong coffee and feels right at home on a holiday morning table.
🍏 Apple Pie Monkey Bread Casserole
Swap in apple pie filling and replace cinnamon with apple pie spice.
For extra texture, sprinkle chopped pecans or walnuts over the top before baking.
This one leans cozy and fall-inspired. It’s perfect for Thanksgiving morning or when apples are on sale and you want something warm and nostalgic.
🍫 Chocolate Chip Cheesecake Version
Skip the fruit and sprinkle mini chocolate chips over the biscuit base before adding the cheesecake mixture.
Once baked, drizzle with chocolate syrup or dust lightly with powdered sugar.
This version turns it into more of a dessert casserole — great for birthday mornings or when you want something kid-approved.
🍋 Lemon Cream Cheese + Raspberry Filling
Add ½ teaspoon lemon extract or zest to the cheesecake mixture and use raspberry pie filling.
This variation has more contrast — sweet, tart, and slightly tangy. It feels a little more elevated and works beautifully for brunch entertaining.
🍑 Peach Cobbler Cheesecake Bake
Use peach pie filling and add a pinch of nutmeg to the cinnamon sugar mixture.
This one feels like cobbler meets monkey bread and is especially good in late summer. Serve with vanilla yogurt or whipped cream.
🍒 Black Forest Twist
Keep the cherry filling, but add mini chocolate chips to the biscuit layer and a small drizzle of chocolate glaze after baking.
It’s still brunch-friendly, but definitely walks closer to dessert.
Final Thoughts
When I was eating on $3 a day, I thought ‘impressive food’ wasn’t for me anymore. I was wrong. This is the recipe I’d have made back then — and while it costs more than it did in 2016 (what doesn’t?), the recipe still holds up now.
A couple cans of biscuit dough.
A small block of cream cheese.
One can of pie filling.
When you use what you have and think creatively, even the simplest ingredients can feel a little special.
And that’s the whole point.
Cherry Cheesecake Monkey Bread Casserole
Equipment
- 9×12-inch baking dish
- Mixing bowls
- Hand mixer or spoon
- Measuring cups and spoons
- Knife or kitchen scissors
- Rubber spatula or spoon
Ingredients
Biscuit Base
- 2 cans refrigerated biscuit dough 8 biscuits each, cut into quarters
- ½ cup granulated sugar
- 1 teaspoon cinnamon
Cheesecake Topping
- 4 oz cream cheese softened
- ¼ cup sweetened condensed milk
- ½ teaspoon vanilla extract
Fruit Layer
- 1 21 oz can cherry pie filling
Instructions
Prep
- Preheat oven to 350°F.
- Grease a 9×12 baking dish.
- In a small bowl, mix together sugar and cinnamon.
- Cut each biscuit into quarters and toss the pieces in the cinnamon-sugar mixture until fully coated.
Build the Base
- Spread all of the coated biscuit pieces evenly across the bottom of the prepared baking dish.
Add Cheesecake Mixture
- In a separate bowl, beat together the softened cream cheese, sweetened condensed milk, and vanilla until smooth and creamy.
- Drop spoonfuls (dollops) of the cheesecake mixture evenly over the biscuit layer.
- Add Cherry Filling
- Pour the cherry pie filling evenly over the top, gently spreading it so it covers most of the surface.
Bake
- Bake for 35–40 minutes, or until the biscuit pieces are cooked through and golden brown around the edges.
- If the top browns too quickly, loosely tent with foil during the last 10 minutes.
- Cool & Serve
- Allow to cool for 10–15 minutes before slicing.
- Cut into 12 servings, or 10 servings if you would like more generous servings.
Notes